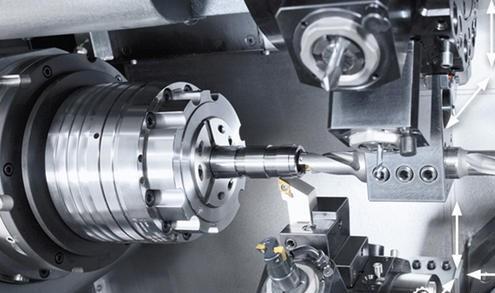
We deal with processing every day and we often mentionaccuracy, But what you saidaccuracyAre you right?Or is it rigorous?Let's take a look at Shenzhen Yuhe Diamond ToolsaccuracyThose things!

PrecisionIs the surface of the processed partActual size, shape, locationThe degree of compliance with the ideal geometric parameters required by the drawing!Ideal geometric parameters are the average size in terms of size; in terms of shape, they are absolute circles, cylinders, planes, cones, and straight lines; for mutual positions, they are absolute parallel, perpendicular, coaxial, etc. Symmetry and so on.
1. Dimensional accuracy
The degree of conformity between the actual size of the processed part and the center of the tolerance zone of the part size.
2. Shape accuracy
Refers to the degree of conformity between the actual geometric shape of the surface of the processed part and the ideal geometric shape.
3. Position accuracy
Refers to the actual position accuracy difference between the relevant surfaces of the parts after processing.
4. Mutual relations
Generally, when designing machine parts and stipulating the machining accuracy of parts, attention should be paid to control the shape error within the position tolerance, and the position error should be less than the dimensional tolerance.That is, precision parts or important surfaces of parts, the shape accuracy requirements should be higher than the position accuracy requirements, and the position accuracy requirements should be higher than the dimensional accuracy requirements.
The deviation value between the actual geometric parameters of the part and the ideal geometric parameters is calledMachining error.The size of the machining error reflects the level of machining accuracy.The greater the error, the lower the machining accuracy, and the smaller the error, the higher the machining accuracy.
PrecisionMainly used to produce products,Machining accuracy and machining error are both terms used to evaluate the geometric parameters of the machined surface.Machining accuracy is measured by tolerance grade, the smaller the grade value, the higher the accuracy; the processing error is expressed by numerical value, the larger the numerical value, the greater the error.High machining accuracy means small machining error, and vice versa.
There are 01 tolerance levels from IT0, IT1, IT2, IT3, IT18 to IT20.Among them, IT01 indicates that the machining accuracy of the part is the highest, and IT18 indicates that the machining accuracy of the part is the lowest. Generally, IT7 and IT8 are the middle level of machining accuracy.
The actual parameters obtained by any machining method will not be absolutely accurate. From the perspective of the function of the part, as long as the machining error is within the tolerance range required by the part drawing, it is considered that the machining accuracy is guaranteed.
The difference between accuracy and precision:
1. Accuracy
Refers to the degree of closeness between the obtained measurement result and the true value.High measurement accuracy means that the system error is small. At this time, the average value of the measured data deviates less from the true value, but the data is scattered, that is, the size of the accidental error is not clear.
2. Precision
Refers to the reproducibility and consistency between the results obtained by using the same spare sample for repeated measurements.It is possible that the precision is high, but the precision is not accurate.For example, the three results obtained by measuring using a length of 1 mm are 1.051 mm, 1.053, and 1.052, respectively. Although they have high precision, they are not accurate.
Accuracy represents the correctness of the measurement results, precision represents the repeatability and reproducibility of the measurement results, and precision is a prerequisite for accuracy.
